Using images in your album
Now that the images have been edited they are ready for putting onto an album page. Therefore we start with an empty album.
Next close the screen "Picture Analysis".
You can put images on the album page by clicking the image on the toolbar "Pictures" with the mouse. You will notice a blue border drawn around the image indicating that the stamp has been selected:
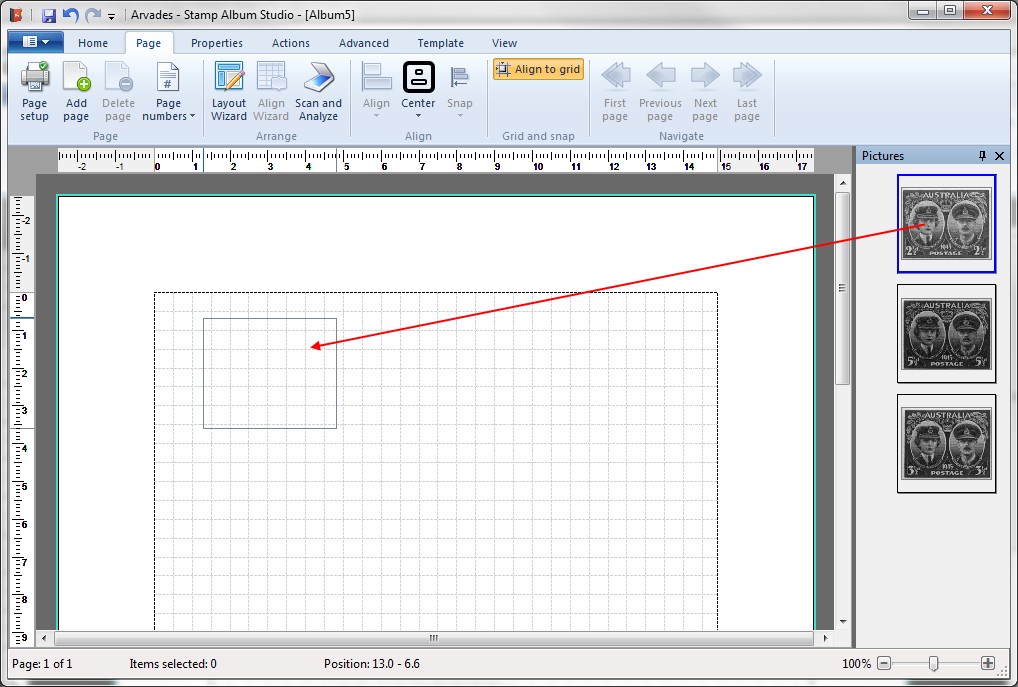
Keep the left mouse button down and drag the image on the page into the desired position:
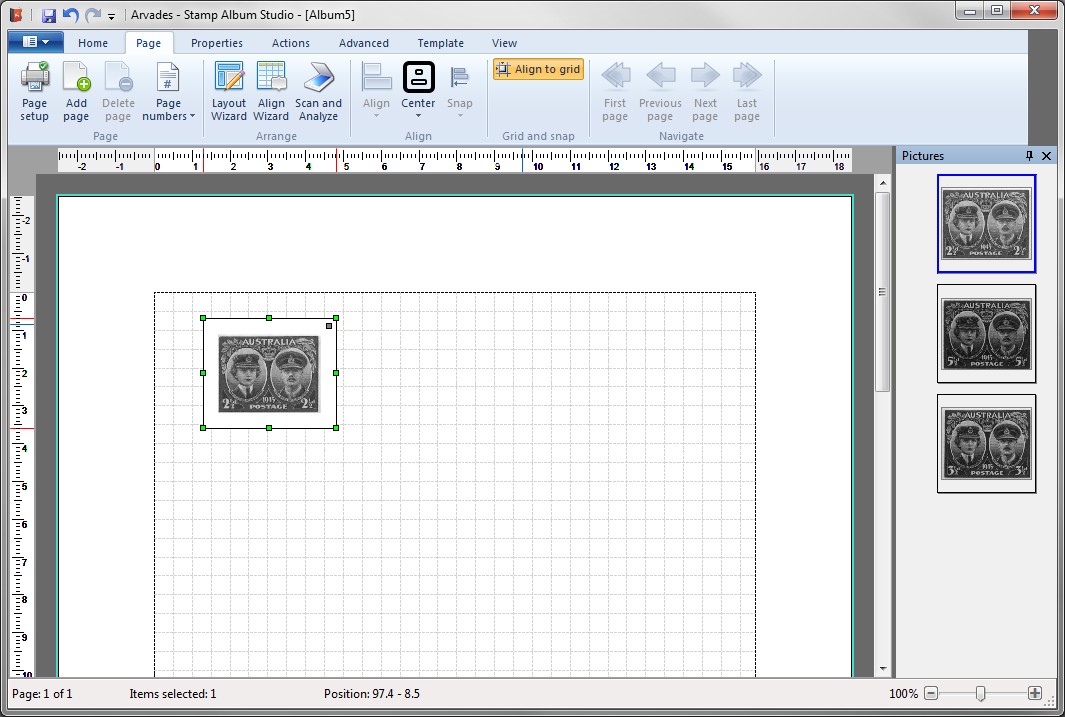
Next, release the mouse button. The stamp will be placed on the page including the picture and a frame:
You will notice the following:
Note:
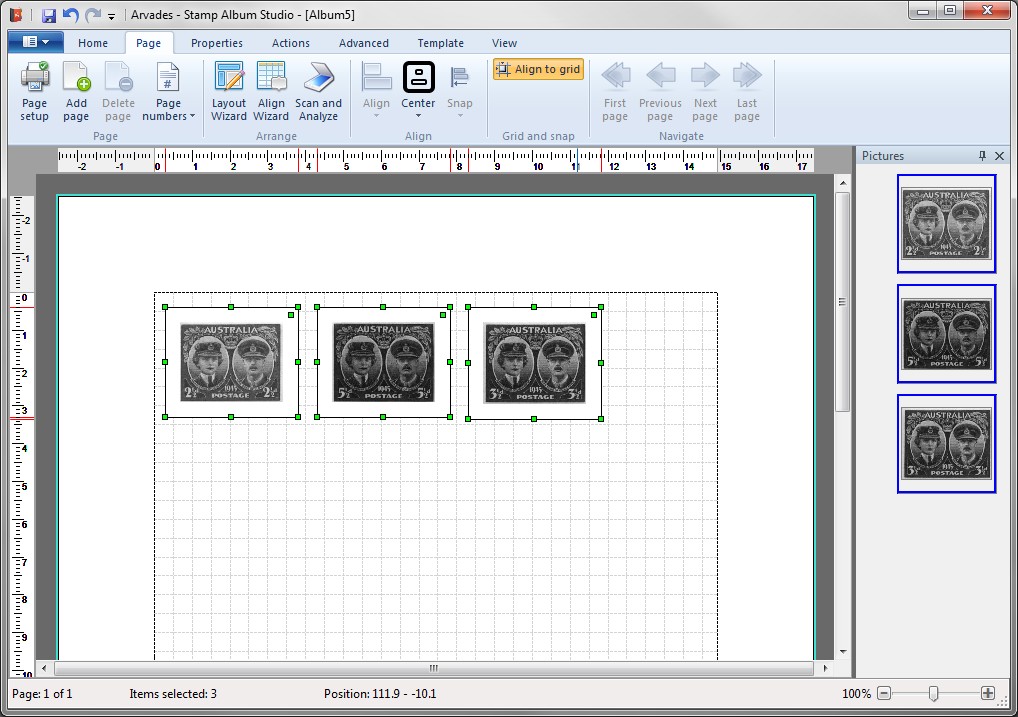
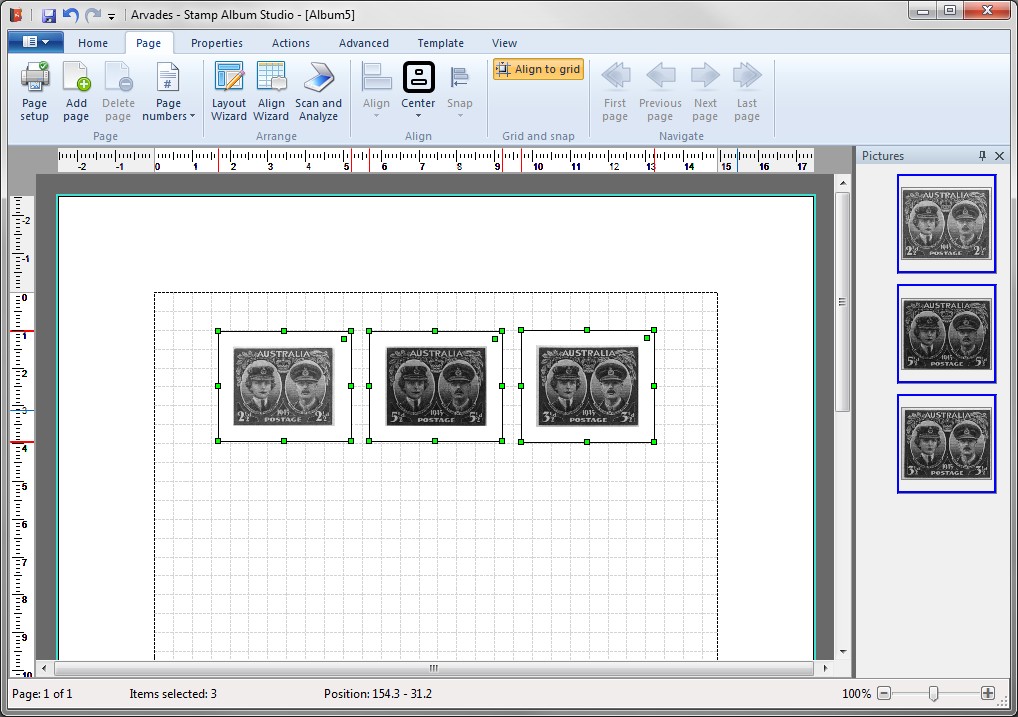
You can also drag more stamps onto the page at the same time. Just keep the CTRL key press during selecting stamps. Around each stamp a blue border will be drawn. Then drag one of the selected stamps onto the album page and you will see that all selected stamps are placed on the page.
Now, we will properly outline the stamps with the aid of the "Align Wizard".
If we added the stamps to the page one by one we first have to form a group out of the separate stamps. Therefore right click on one of the selected stamps and choose in the menu the option Groups and then Group. The colored squares in the upper right hand corner indicate that the stamps now form a group.
If we added the stamps to the page all at the same time the stamps are automatically grouped.
When we now put the stamps in the right order and execute the "Align Wizard" we get the definite layout:
Note:
In the online Help all possibilities of the function "Scan and analyze" will be described in detail.
Copyright © 2015, Arvades